Beginner Pottery Tips for Aspiring Artists
- Tom Jenkins
- 1 day ago
- 4 min read

Pottery is an ancient art form that combines creativity, skill, and a bit of science. For those just starting out, the world of pottery can seem overwhelming. However, with the right guidance and a few essential tips, you can embark on your journey to becoming a skilled potter. This post will provide you with practical advice to help you navigate the basics of pottery, from choosing the right materials to mastering techniques.

Understanding the Basics of Pottery
Before diving into the hands-on aspects of pottery, it's essential to understand the fundamental concepts. Pottery involves shaping clay and then firing it in a kiln to create durable objects. Here are some key terms and concepts to familiarize yourself with:
Types of Clay
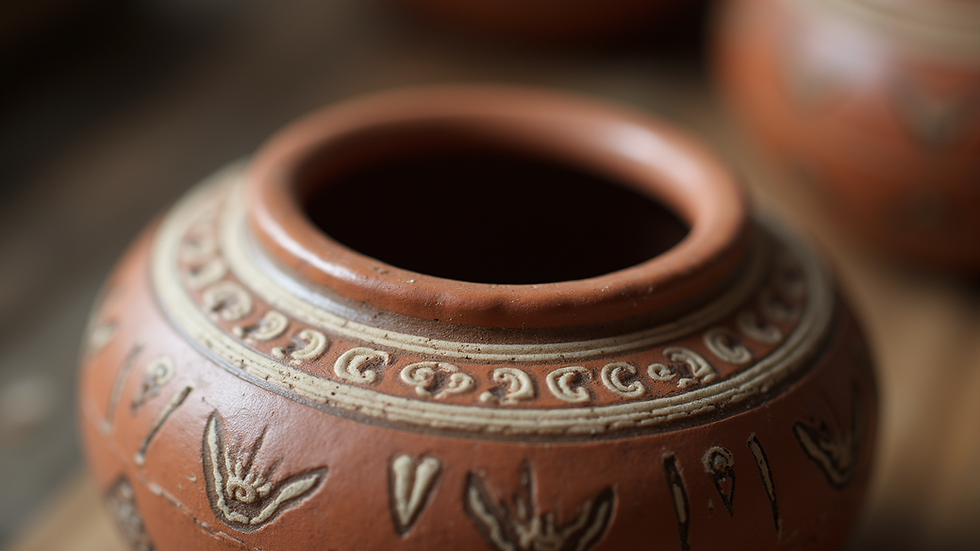
Earthenware: This is the most common type of clay for beginners. It is easy to work with and fires at a low temperature, making it ideal for small projects.
Stoneware: More durable than earthenware, stoneware is fired at a higher temperature and is suitable for functional pieces like dishes and mugs.
Porcelain: Known for its fine quality and translucence, porcelain is more challenging to work with and typically used by more experienced potters.
Tools of the Trade
Having the right tools can make a significant difference in your pottery experience. Here are some essential tools you should consider:
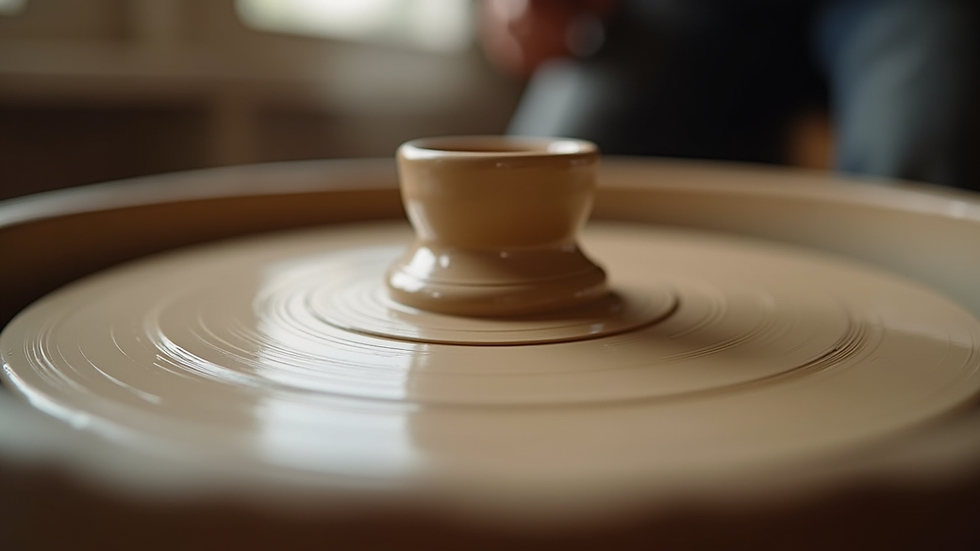
Pottery Wheel: A wheel is crucial for shaping your clay into symmetrical forms.
Clay Tools: These include trimming tools, rib tools, and sponges to help you refine your pieces.
Kiln: A kiln is necessary for firing your pottery. If you don’t have access to one, many community studios offer kiln services.
Getting Started with Your First Project
Now that you understand the basics, it’s time to get your hands dirty. Here’s a step-by-step guide to creating your first pottery piece.
Step 1: Prepare Your Clay
Start by kneading your clay to remove air bubbles. This process, known as wedging, ensures that your clay is uniform and pliable.
Step 2: Centering the Clay
If you’re using a pottery wheel, centering the clay is crucial. Here’s how to do it:
Place a ball of clay in the center of the wheel.
Wet your hands and apply pressure to the clay while the wheel spins.
Gradually shape the clay into a cone and then flatten it down to create a centered disk.
Step 3: Shaping Your Piece
Once your clay is centered, you can begin shaping it. For beginners, creating a simple bowl or mug is a great starting point. Use your hands and tools to shape the clay as desired.
Step 4: Trimming and Finishing
After shaping, allow your piece to dry slightly until it reaches a leather-hard state. At this point, you can trim excess clay and refine the shape.
Step 5: Firing Your Piece
Once your piece is completely dry, it’s time to fire it in the kiln. Follow the manufacturer’s instructions for your specific kiln model.
Step 6: Glazing
After the first firing, you can apply glaze to your piece. Glazing adds color and a protective layer to your pottery. Experiment with different glazes to see how they react during firing.
Common Mistakes to Avoid
As a beginner, it’s easy to make mistakes. Here are some common pitfalls and how to avoid them:
Not Wedging Properly: Failing to remove air bubbles can lead to cracks during firing. Always wedge your clay thoroughly.
Overworking the Clay: Clay can become too dry if worked for too long. Keep it moist to maintain its pliability.
Ignoring Drying Times: Rushing the drying process can cause your piece to crack. Allow adequate time for drying before firing.
Exploring Different Techniques
Once you’ve mastered the basics, consider exploring various pottery techniques to expand your skills.
Hand-Building
Hand-building is a technique that involves shaping clay without a wheel. This method allows for more creativity and unique designs. Here are a few hand-building techniques to try:
Pinch Pots: Start with a ball of clay and pinch it into a bowl shape.
Coil Building: Roll out long coils of clay and stack them to create larger forms.
Slab Building: Roll out flat pieces of clay and assemble them to create structures.
Wheel Throwing
If you enjoy the wheel, consider taking a class to learn more advanced throwing techniques. This can include creating larger pieces or mastering specific forms like vases or plates.
Finding Your Style
As you gain experience, you’ll begin to develop your unique style. Experiment with different shapes, glazes, and techniques to discover what resonates with you.
Inspiration Sources
Art Galleries: Visit local galleries to see what other artists are creating.
Online Communities: Join pottery forums or social media groups to connect with other potters and share your work.
Workshops: Attend pottery workshops to learn new techniques and gain inspiration from instructors.
Maintaining Your Pottery Tools
Proper care of your tools will extend their lifespan and improve your pottery experience. Here are some maintenance tips:
Clean Tools After Use: Rinse clay off your tools immediately after use to prevent buildup.
Store Properly: Keep your tools organized and stored in a dry place to avoid damage.
Check Your Kiln: Regularly inspect your kiln for any issues and clean it according to the manufacturer’s guidelines.
Joining a Pottery Community
Connecting with other potters can enhance your learning experience. Consider joining a local pottery studio or community group. This provides opportunities for collaboration, feedback, and inspiration.
Benefits of Community
Shared Knowledge: Learn from more experienced potters and share your own insights.
Access to Resources: Many studios offer access to tools and kilns that you may not have at home.
Motivation: Being part of a community can keep you motivated and inspired to create.
Conclusion
Pottery is a rewarding and fulfilling art form that allows for endless creativity. By following these beginner pottery tips, you can build a solid foundation for your artistic journey. Remember to be patient with yourself as you learn and grow. Embrace the process, and don’t hesitate to experiment with different techniques and styles.
Now that you have the basics down, it’s time to get started on your first project. Gather your materials, find a quiet space, and let your creativity flow. Happy potting!
Comments